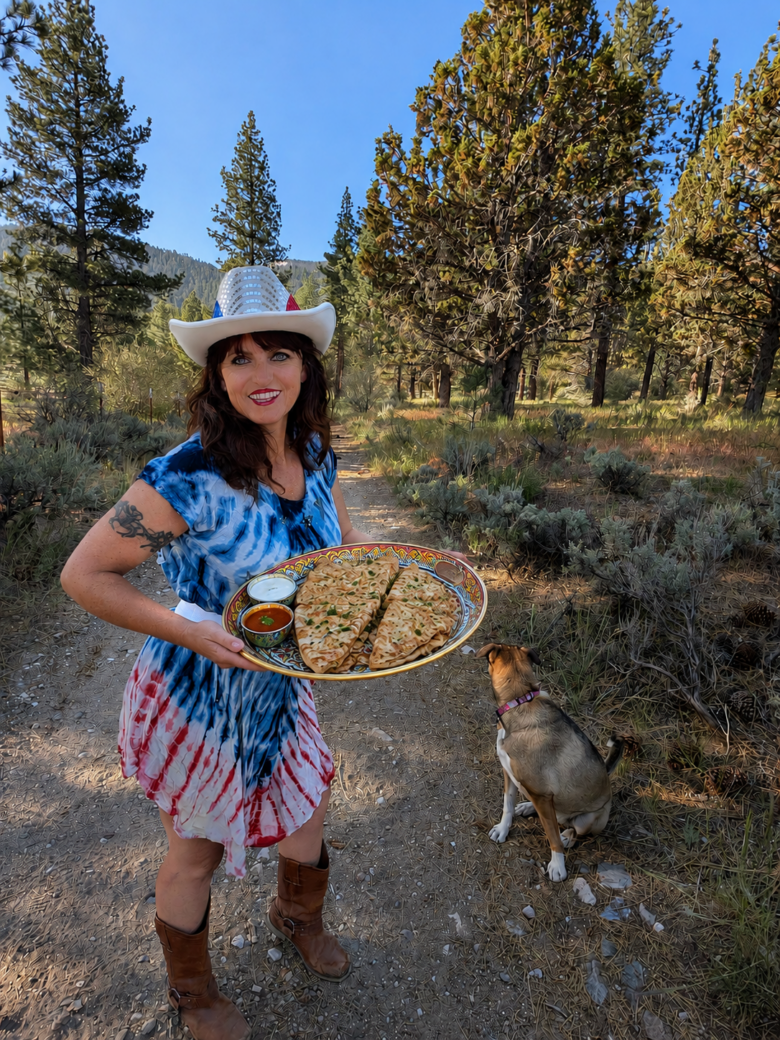
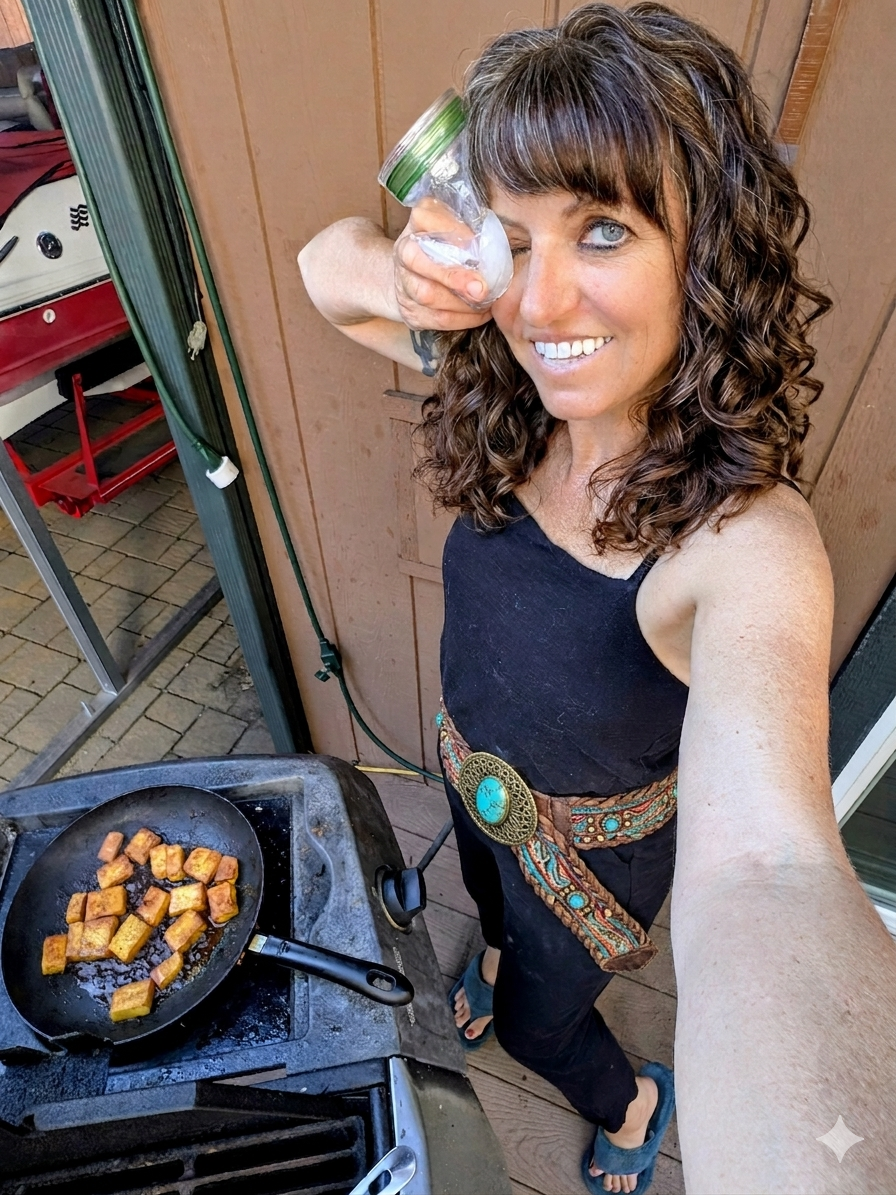
There are few things more humbling than trying to make an authentic Indian dinner while simultaneously holding a bag of ice against your eyeball because you managed to launch hot ghee directly into it. Have you ever gotten hot fat in your eye? I would not recommend it. My optometrist certainly would not recommend it. Yet there I was on Fourth of July weekend, stirring an authentic muttar curry, browning paneer with tandoori seasoning, and flipping these homemade aloo parathas in a cast-iron pan like nothing had happened. Shit happens. Kitchen accidents happen. And this Aloo Paratha Recipe happend this 4th of July weekend too.

Perhaps I was a little tired. Fourth of July weekend in Big Bear Lake is not exactly a relaxing affair when you spend your days leading hiking tours, guiding Jeep adventures and pretending to be a functional adult while feeding tourists. By the time evening rolls around, I am usually starving and dreaming about authentic Indian comfort food.
That is where this aloo paratha recipe comes in.
If you are new to Indian cooking, learning how to make parathas from scratch is one of the best places to start. Think of this as Indian Bread Making for Beginners. Most people begin their journey with naan because it is what they recognize from restaurant menus. But authentic Indian breads go far beyond naan. Once you master a homemade paratha recipe, suddenly chapatis, rotis and other traditional Indian flatbreads become far less intimidating.
An authentic aloo paratha starts with a soft dough and a simple potato filling. The magic happens when you learn how to layer and cook the dough properly. Traditional parathas are made with whole wheat atta flour, but do not panic if you cannot find it immediately. While whole wheat atta creates the most authentic flavor and texture, many home cooks successfully use all-purpose flour or a fifty-fifty blend of atta and all-purpose flour.
In fact, I often recommend a combination of both flours for beginner Indian cooking. The blend produces a softer dough, creates a lighter texture and is generally easier to work with if you are still developing your dough-making skills. Pure all-purpose flour will produce a flakier, softer brea d, while pure atta gives you the authentic earthy flavor and chewy texture found throughout India.
Authentic parathas are made by kneading the dough until smooth, allowing it to rest, then layering it generously with ghee before folding and rolling. This creates those beautiful flaky layers that make homemade Indian bread so addictive. Resting the dough for at least fifteen to thirty minutes is one of the most important steps. Skip this step and your dough may fight you like an angry toddler.
Speaking of ghee, before you dive into Paratha Creation 101, do yourself a favor and buy a large container at Costco. I will be the first to admit that Indian food is not diet food. If you are making authentic Indian breads such as parathas, chapatis or naan, there will be ghee involved. Lots of it. This is not the moment to count calories. This is the moment to embrace happiness.
Making an Aloo Paratha Recipe Without Buying Half of Amazon
One question I hear constantly is whether you need a special pan to make home made parathas. Traditionally, parathas are cooked on a tawa. A tawa is a slightly curved Indian griddle specifically designed for making flatbreads like rotis, chapatis, parathas and dosas. The shape allows heat to distribute evenly while giving you plenty of room to flip and move the bread around.
That being said, a cast-iron skillet works beautifully. In fact, most American kitchens already have one. Cast iron holds heat exceptionally well and creates gorgeous golden-brown spots on your aloo stuffed paratha. I frequently use my cast-iron pan when making Indian breads at home.
You can also use a dosa pan, which is what I often do when I am already making a full Indian feast. Dosa pans are wide, flat and excellent for cooking any type of traditional Indian flatbread. The important thing is not necessarily the pan itself but maintaining consistent heat. A screaming hot pan will burn your paratha before the inside cooks, while a cool pan will leave you with sad, pale dough.
As for the potato filling, you can prepare the aloo mixture well in advance. In fact, I encourage it. The filling freezes beautifully and saves a tremendous amount of time on busy evenings. Whenever I make a large batch, I freeze half for future breakfasts. After a thirty-six-hour fast, that leftover aloo becomes pure magic when tucked inside a Bombay Frankie or wrapped inside another fresh homemade paratha.
Because Not Everyone Has an Indian auntie Watching Over Their Shoulder
Once you learn how to m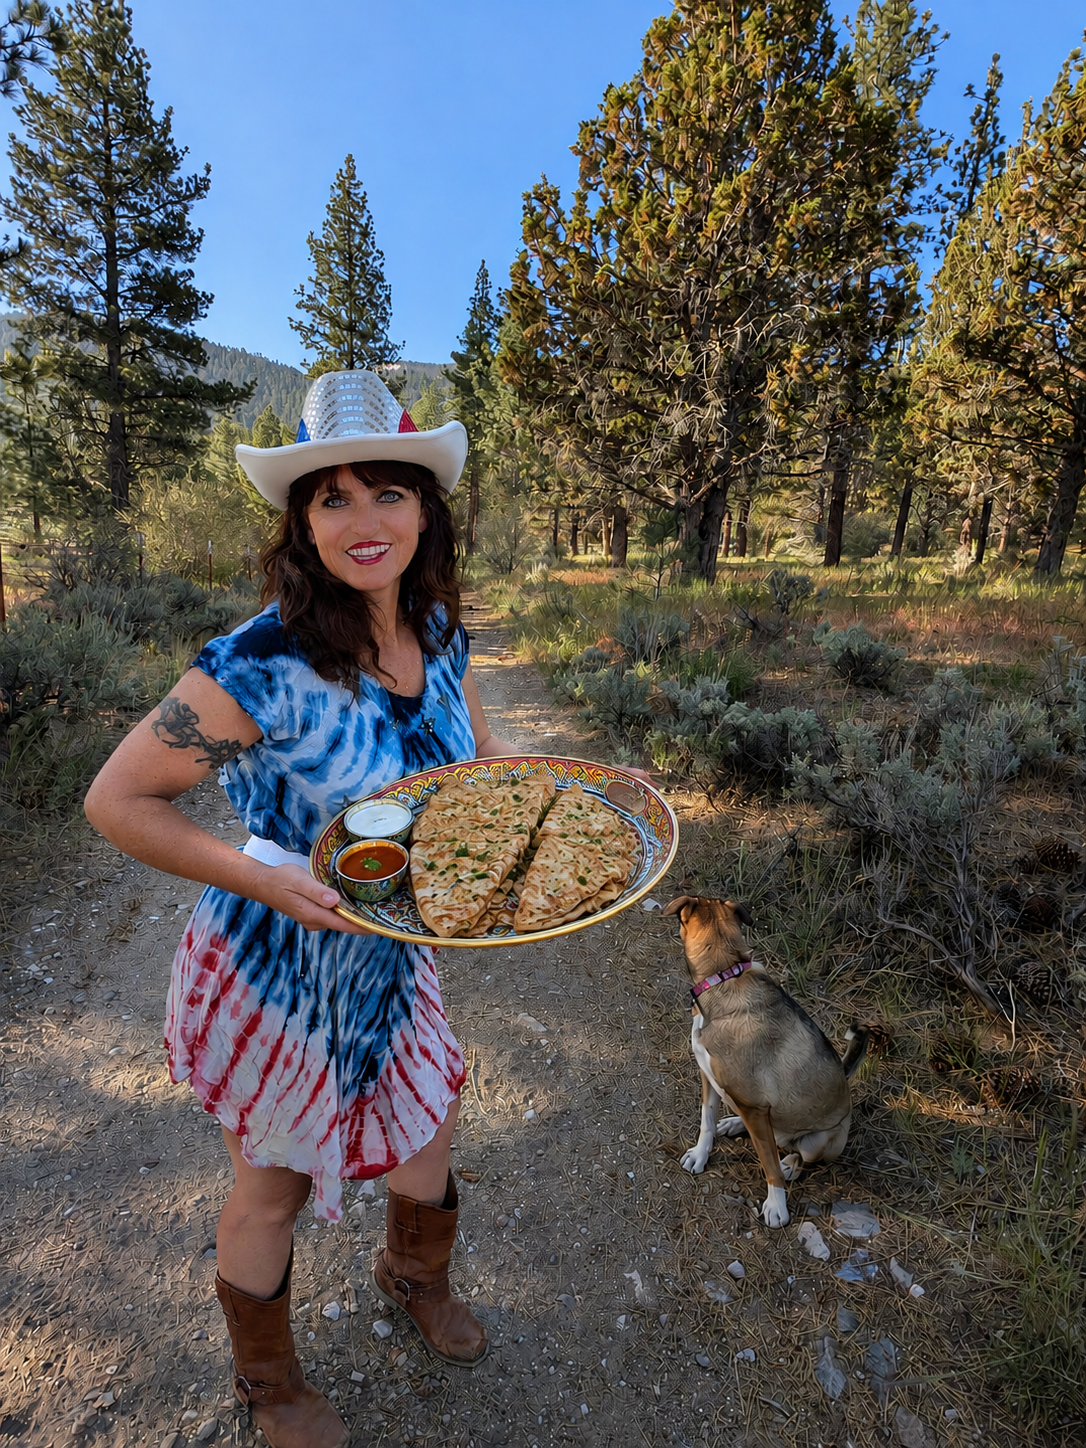 ake aloo paratha from scratch, the entire world of authentic Indian breads becomes much less intimidating. It is one of those recipes that looks complicated until you make it once. Then suddenly you find yourself rolling dough on Friday nights, flipping parathas in ghee and wondering why you ever paid restaurant prices for something so satisfying to make at home.
It is honestly hard to become a proper little Indian kitchen wizard without a full tandoori oven sitting in your backyard like somebody’s Punjabi grandmother. But purchasing a good Tawa pan is absolutely the next best thing. A solid tawa helps give homemade Aloo Paratha that authentic crispy-yet-soft texture that makes store-bought flatbread taste like sadness and missed opportunities. It is also fantastic for whipping up breakfast dosas, toasting naan, frying paneer or generally pretending your cabin kitchen is a bustling Delhi street-food stall while your smoke detector judges you from the ceiling. Once you start cooking on a proper tawa, you suddenly understand why Indian aunties treat these pans like treasured family heirlooms instead of mere cookware.
I absolutely adore my Krafstman Stand Alone Mixer. Honestly, why are people out here spending three hundred dollars on a fancy Cuisinart when this thing does the exact same job without financially assaulting your credit card? I spend most of my hard-earned cash on fancy French cheeses and $6 a gallon gas, because yes, I live in California. A boujie stand-alone mixer is just not in my current budget.
This mixer handles bread dough like an absolute champion, which is important because I make enough sourdough to survive a California snowstorm and possibly barter with my neighbours afterwards. And the splash guard with the little feeding port? Genius. Pure genius. Whoever invented that clearly got tired of wearing flour like it was part of the recipe. Because let me tell you something: making bread dough without a splash cover is basically just indoor weather. One second you’re peacefully adding flour, the next your kitchen looks like a Bollywood cocaine scene and your dog is sneezing paratha dust across the cabin.
This mixer keeps the chaos mostly contained while still having enough power to knead thick doughs without sounding like it’s about to file a workers’ compensation claim.
Aloo Paratha: The Authentic Indian Bread That Ruined Store-Bought Tortillas
1/2 of a red onion, sliced thin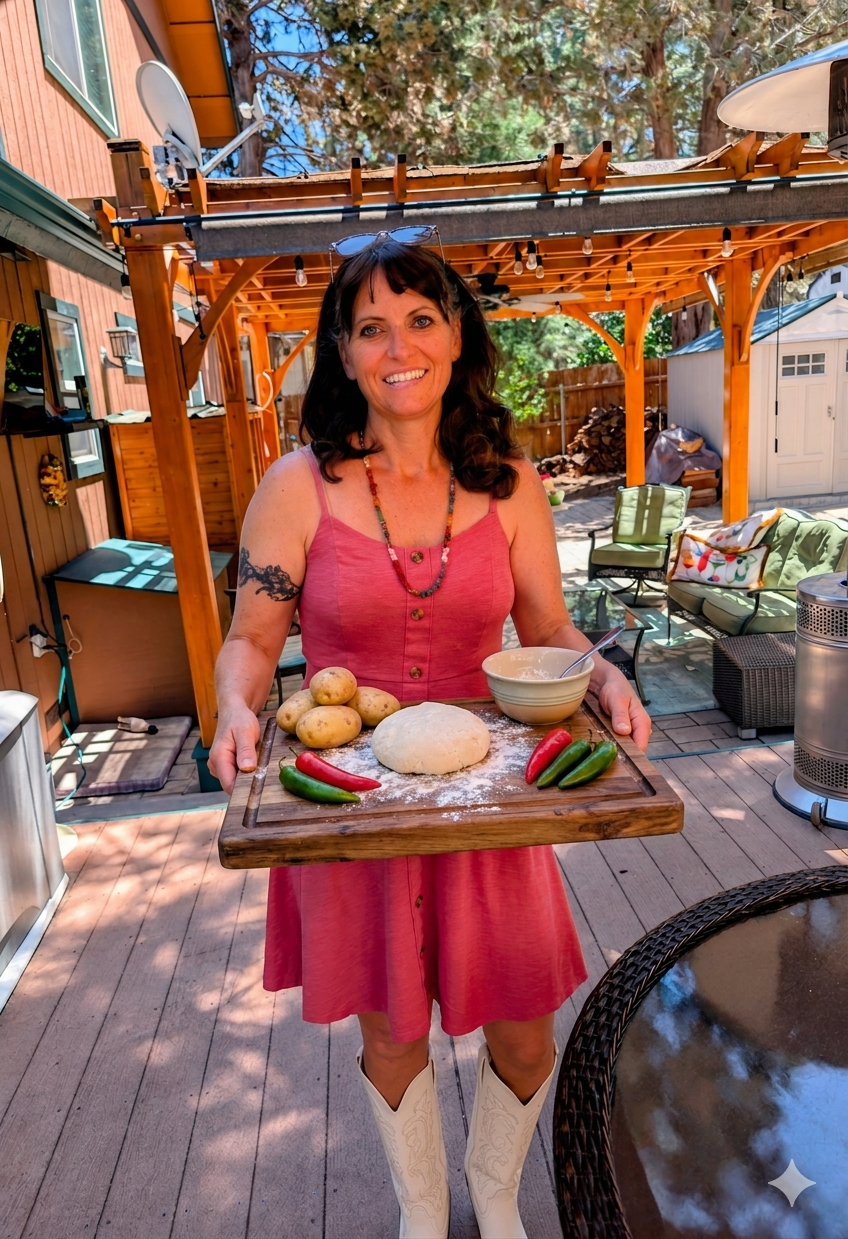
1 serrano, chopped thin
1 teaspoon grated fresh garlic
1 teaspoon grated fresh ginger
1/4 teaspoon dried mango powder
2 medium-sized Dutch potatoes, boiled for 12 minutes and mashed
5 teaspoons of ghee
1 teaspoon ground cumin
1/4 teaspoon ground turmeric
1 teaspoon ground coriander
1/2 teaspoon freshly ground black pepper
2 teaspoons of ketchup
1/2 teaspoon of salt
Everything you never knew about Parathas and were embarrassed to ask your auntie
Firstly, cut your potatoes into bite-sized pieces. Boil them for about fifteen minutes until fork-tender. Drain the potatoes, salt them with 1 teaspoon of salt and set aside.
In your ghee, roast your red chilis and set them aside. Roast your red onion slices in the remaining ghee until nice and brown. This step should take ten minutes. Set the onions in a NutriBullet to cool slightly, along with the chilis. Give them ten minutes to cool, then return the onions to the heat along with the grated garlic, fresh ginger, cumin, coriander and turmeric. Add a bit of water so your spices do not catch, and roast your spices for a good ten to fifteen minutes until they are not raw. Mix in the black pepper and the ketchup. Mix in your potatoes.
Plan on creating your paratha dough at least an hour before you want to actually cook the parathas. I like to mix my paratha dough in my standalone mixer but most aunties say you should knead the dough by hand for ten minutes.
These are more like a coin paratha style, so they are flatter and crisper. Once upon a time, we assembled coin parathas in our motorhome, which basically led to flour everywhere in the motorhome. I do not recommend this while camping.
Always use the dough hook and set it at the lowest speed. It takes about five minutes of kneading with the stand-alone mixer to get your dough to the perfect consistency. I start with 1 cup of white flour and 1 cup of wheat flour. You will need about 1 cup of warm water total, but you want to add that after just a little at a time.
Start by adding your oil to your two flours in the stand-alone mixer. Your flour should start to feel like fine sand. Now add the salt, and half of your water mixture. Add a little more water at a time just until your 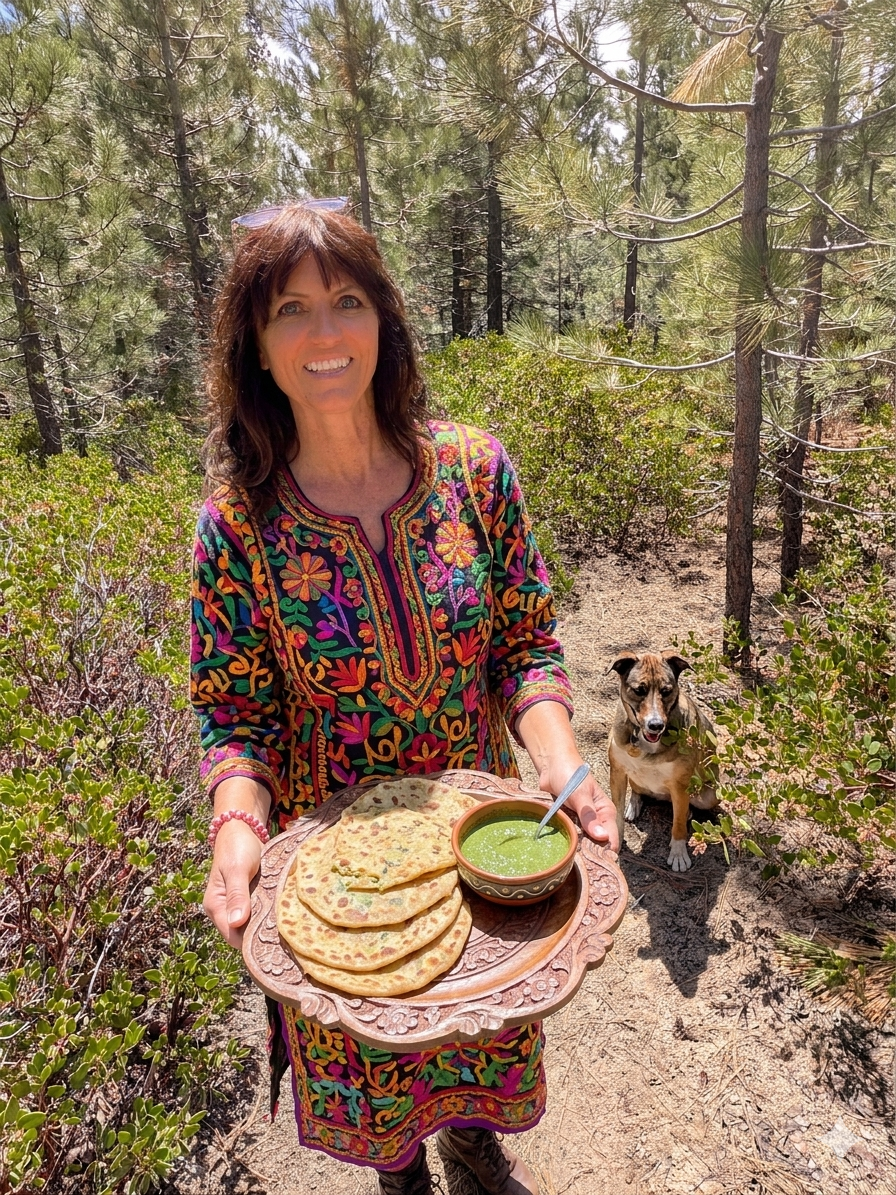 dough has finally come together on the hook. Once the dough is sticking to the hook and there is no more dough left sticking to the sides of your bowl, now knead on the lowest speed for an additional five minutes.
Cover your dough and set in a warm place for at least an hour. Now, when you go to knead it out by hand, it should be just a bit more pliable. Now, from here, I form my dough into 10 different circles. Put just a little oil on the outside of each dough ball. From this point, I use a tortilla press to flatten them but most Indian aunties would use a rolling pin. I cover both sides of the tortilla press with plastic wrap, then smash each paratha into a flat disk. Set them each aside. What you are going to want to do is add about 1 teaspoon of potatoes to each paratha. Cover with another paratha, roll that paratha up like you are …
Now you want to coil your paratha into a circle like a pinwheel and stretch all the edges together. I then put them back in the tortilla press to give them one more flatten before frying them up in tons of ghee in a very hot cast-iron pan. Yes, your kitchen may get smoky for this part. This is a good time to see if your smoke alarm works!