You just spent three hours in the kitchen cooking up a full-on Indian feast—cumin seeds and star anise blooming, onions caramelizing, neighbors suddenly “just stopping by” to see what smells amazing. This is five-star, auntie-approved, this-side-of-Mumbai-level cooking. So, how come how to take food photos seems mind-blowing to this home chef?
You pull out your phone to take a photo… and it looks like cafeteria curry under interrogation lighting. Why is that? How do you go from “this smells like heaven” to “why does this look like spicy beige sadness on a plate”? More importantly, how do you actually learn how to take food photos that look as good as what you just cooked?
Indian food is not the problem. The food is vibrant, rich, colorful—it’s doing its job. The camera? The lighting? The angle? That’s where everything falls apart. You’re trying to capture Gobi Fry magic, and somehow your photo ends up looking like Curry Bum leftovers from last night. Don’t worry—we’re fixing that.
Because once you understand a few simple tricks for how to take food photos, your dishes will finally look the way they deserve: bold, dramatic, and just a little bit show-offy… exactly like the meal you just spent three hours creating.
How to Take Food Photos That Don’t Look Like Cafeteria Curry

I’m the first to admit, It’s hard to make a Cauliflower Curry look appetizing in a photo. Let’s be honest—no matter how heavenly it tastes, it photographs like a bowl of spicy, well-intentioned mush. The same goes for a tangy, smoky Buffalo Chili. Delicious? Absolutely. Inspiring? Sure. Pretty? Only if you squint aggressively and lie to yourself. When it comes down to how to take food photos, there are a lot of simple ways to up your game.
Have you ever wondered how all those bloggers and Instagram stars make their food pics look like they belong in Bon Appétit? Faster than you can hashtag #FoodPorn, you can start posting food photos that make your friends think you suddenly hired Annie Leibovitz as your personal food photographer. Trust me, taking Insta-worthy food pics gets a whole lot easier with a few simple tricks from my kitchen—located a casual six thousand feet above civilization.
From Kitchen Queen to Camera Disaster: Let’s Fix That

Once upon a time, I was absolutely not a food-photo person. I’d sit down with a crab omelet, inhale 60% of it, and only then remember, “Crap, I was supposed to blog this.” And no one—literally no one—wants to see a half-eaten omelet unless your niche is crime scene cuisine. Learning how to take food photos really upgraded my blogging and social media skills.
So if you want to take drool-worthy photos for your blog or social media, step one is simple: have a plan. Before the dish comes off the stove or out of the oven, get your props lined up—your fancy plates, that Williams-Sonoma tablecloth you pretend you didn’t buy on clearance, and your digital camera or Pixel Pro-9 phone ready to go. Stage your dish before the gobbling begins. (Yes, then you can finally eat.)
Stop Blaming the Curry—It’s Your Camera
I might be an exceptional Indian cook, but I’m also someone who can shovel Butter Chicken into my face with alarming efficiency. So I’m trying to be better about snapping the photo before the feeding frenzy. One thing that helps? My Google Pixel’s portrait mode. It magically blurs the background and makes the food look like the star of the show—for once, instead of my cat.
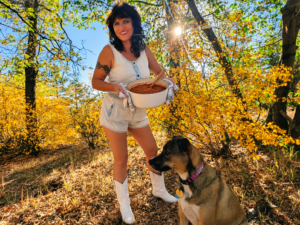
 Pro tip: having a starving-looking dog staring at your plate in the background—slightly blurred, of course—is an excellent way to emphasize your subject while reminding the world that your dog is, indeed, drama.
When it comes down to how to take food photos, once I shoot a batch of photos, I always edit them. Brightness, contrast, saturation—tweak them until the food looks like something you’d swipe right on. And crop those images into squares; nothing screams “I know what I’m doing” like a tidy, curate d Insta-grid.
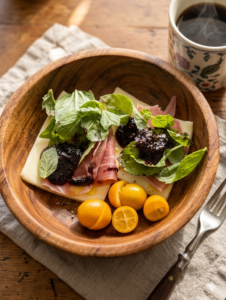
Speaking of angles? The overhead shot is still the Beyoncé of food photography. A clean white background—plates, linens, table—makes the colors in your food pop like they’re auditioning for a Pantone ad.
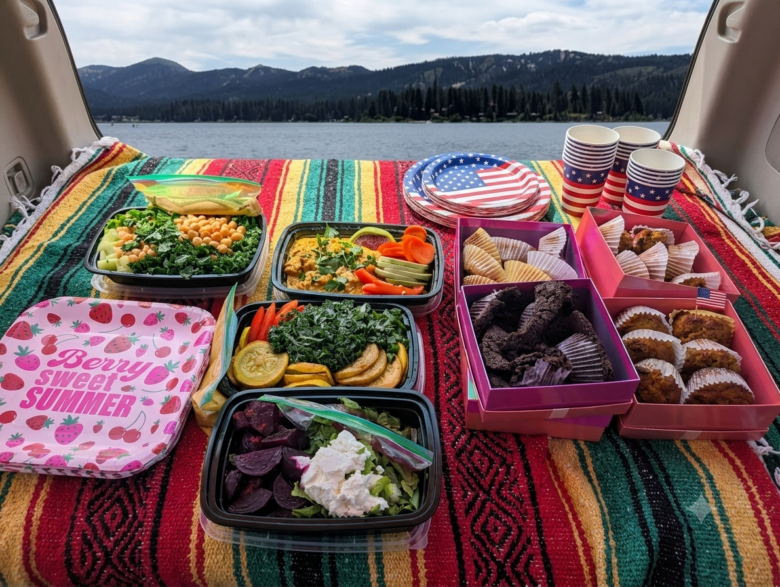
Don’t just take food photos in your kitchen. Pack that Peach Caprese Salad and bring it on your next hiking trip. One of my favorite places to snack is at 12,000 feet. I hike to eat, and I eat to live, and nothing tastes better than shoving bacon jerky in your face after a four-thousand-calorie climb. Mountain peaks like San Gorgonio make the perfect backdrop for showing off your gourmet sandwich on a random Tuesday. Trailside picnic tables? Excellent for photographing your homemade cheese crackers or that Blue Cheese Potato Salad your backpack smells like. (Don’t judge me. Am I the only one who hikes with a backpack laden with blue cheese-studded potato salad?)
Stalk other foo d bloggers.
Look at how the pros do it. Hashtag #FoodPorn and study. Can’t capture your grilled scallops without them looking like rubbery UFOs? Hit up free stock photo sites like Pexels or StockSnap. There is no shame in replacing your tragic stew photo with something a professional took. Your audience will thank you.
Writing a great blog is only half the game. In 2026, your photos are your brand. Gorgeous, bold, clear images will make or break your social media street cred. And for the love of Instagram—ditch the iPhone. Android phones like Pixels or Notes take far superior food photos. (Come at me, Apple people. I said what I said.)
For props hit the thrift store or Dollar Tree for placemats, table runners, and cute backgrounds. You don’t need a studio—you just need $7 worth of vibe.
The Lazy Blogger’s Guide to Taking Photos That Look Professional-ish

Use natural light whenever possible. Direct sunlight is harsh. Indirect light is magical.
Shoot quickly. Food wilts, melts, shrivels, sweats, and generally misbehaves.
Use textured backgrounds. Wood, slate, linen—even a cutting board from the thrift store.
Keep a “prop box.” Store cute utensils, napkins, dishes, herbs, and random nonsense you can grab for styling.
Steam trick: If your food cooled down, put a microwaved wet paper towel behind it for fake steam. Your secret is safe.
Add height and layers. Stack pancakes. Tilt sandwiches. Fluff salads. Make gravity your friend.
Garnish like you’re being judged. Fresh herbs fix almost anything
 Wipe the damn plate. A clean rim instantly looks professional.
And when all else fails?
Throw a pet in the background. People love pets. They will not care what your curry looks like if a fluffy creature is eyeballing it like it’s the last food on Earth. With a few easy tips, some involving a twenty-five-pound Norwegian Forest Cat, you too can learn how to take food photos that are world-class.
Hot Food > Perfect Photos: A Food Blogger’s Confession
After years of chasing the perfect food photo while my stomach staged a full-blown mutiny, I’ve finally accepted the truth: hot food waits for no one. In 2026, it turns out you don’t need the newest iPhone, perfect lighting, or the patience of a monk to get a decent foodie shot. Sometimes you just need to eat first and let AI handle the glamor shots later.
I still love my real ph otos and use them proudly—but I’m also not above saying, “Hey AI, make this look cuter,” while I’m already halfway through my high-protein egg bites. Life’s too short, food gets cold fast, and nobody wants a beautifully styled plate that tastes like regret. Take the photo, use the tech, and for the love of all things delicious—eat while it’s warm.
📸 How to Take Food Photos FAQ (Beginner Food Photography Tips)
Why does my food look bad in photos but good in real life?
This usually comes down to:
- Poor lighting (especially overhead kitchen lights)
How to take food photos for dummies and foodies alike - Wrong angles
- Lack of styling or garnish

The food isn’t the problem—your lighting and setup are.
What is the best lighting for food photography?
Natural light is best.
- Use indirect light from a window
- Avoid harsh direct sunlight
- Turn off indoor yellow lighting
Good lighting is the single biggest factor in how to take food photos that look professional.
What angle should I use for food photos?
It depends on the dish:
- Overhead (flat lay): great for bowls, curries, and spreads
- 45-degree angle: best for plated meals
- Side angle: ideal for stacked foods like sandwiches or pancakes
The overhead shot is one of the most popular and reliable options.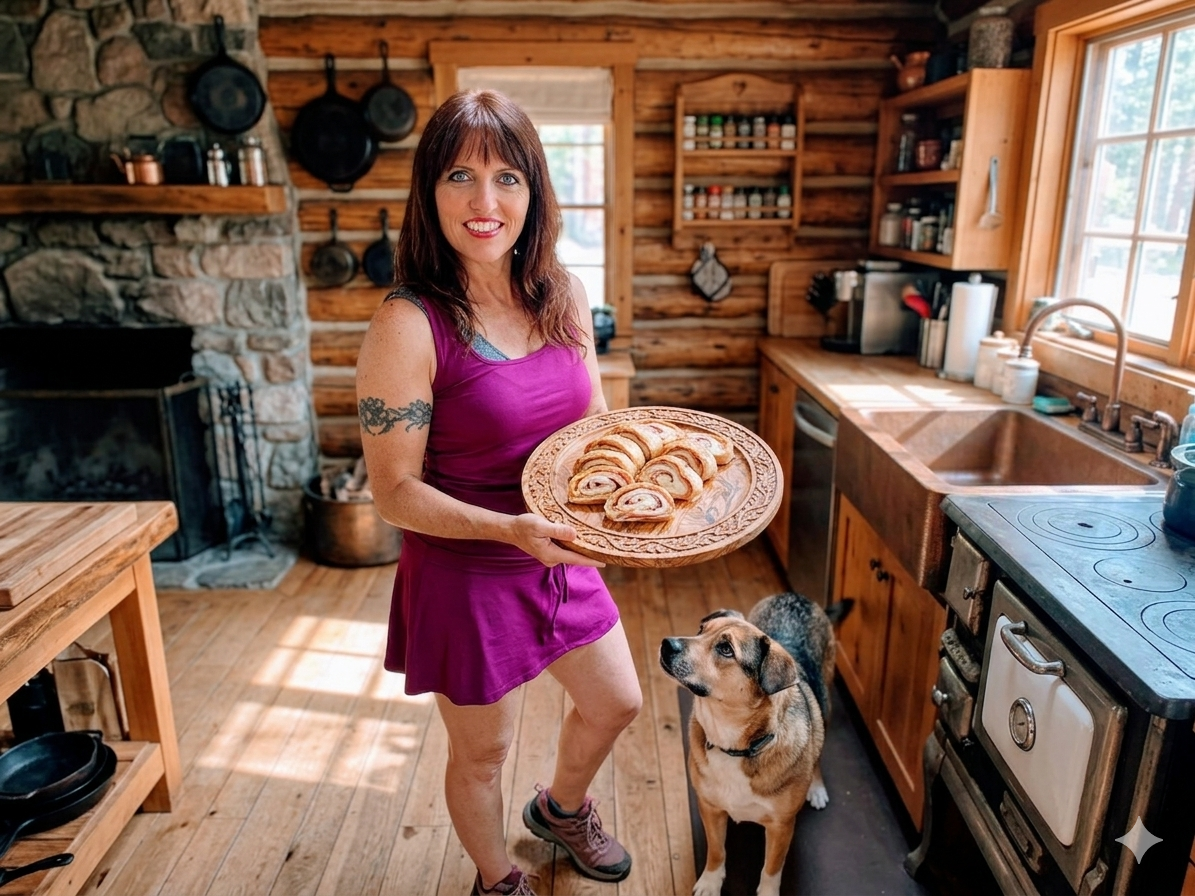
How do food bloggers make their photos look professional?
They focus on:
- Good lighting
- Clean backgrounds
- Styling and props
- Editing (brightness, contrast, saturation)
Professional-looking food photos are more about setup than expensive equipment.
Can I use my phone to take good food photos?
Yes—modern smartphones work great for how to take food photos
- Use portrait mode for background blur
- Tap to focus on the food
- Adjust brightness before taking the photo
You don’t need a professional camera to get great results.
How do I style food for better photos?
Simple tips:
- Add fresh garnish (herbs, sauces, toppings)
- Use clean plates and wipe edges
- Add layers and height
- Include props like napkins or utensils
Food styling makes a huge difference in how appetizing your photo looks.
Why do my food photos look dull or unappetizing?
Common causes include:
- Not enough natural light
- No color contrast
- Flat or messy plating
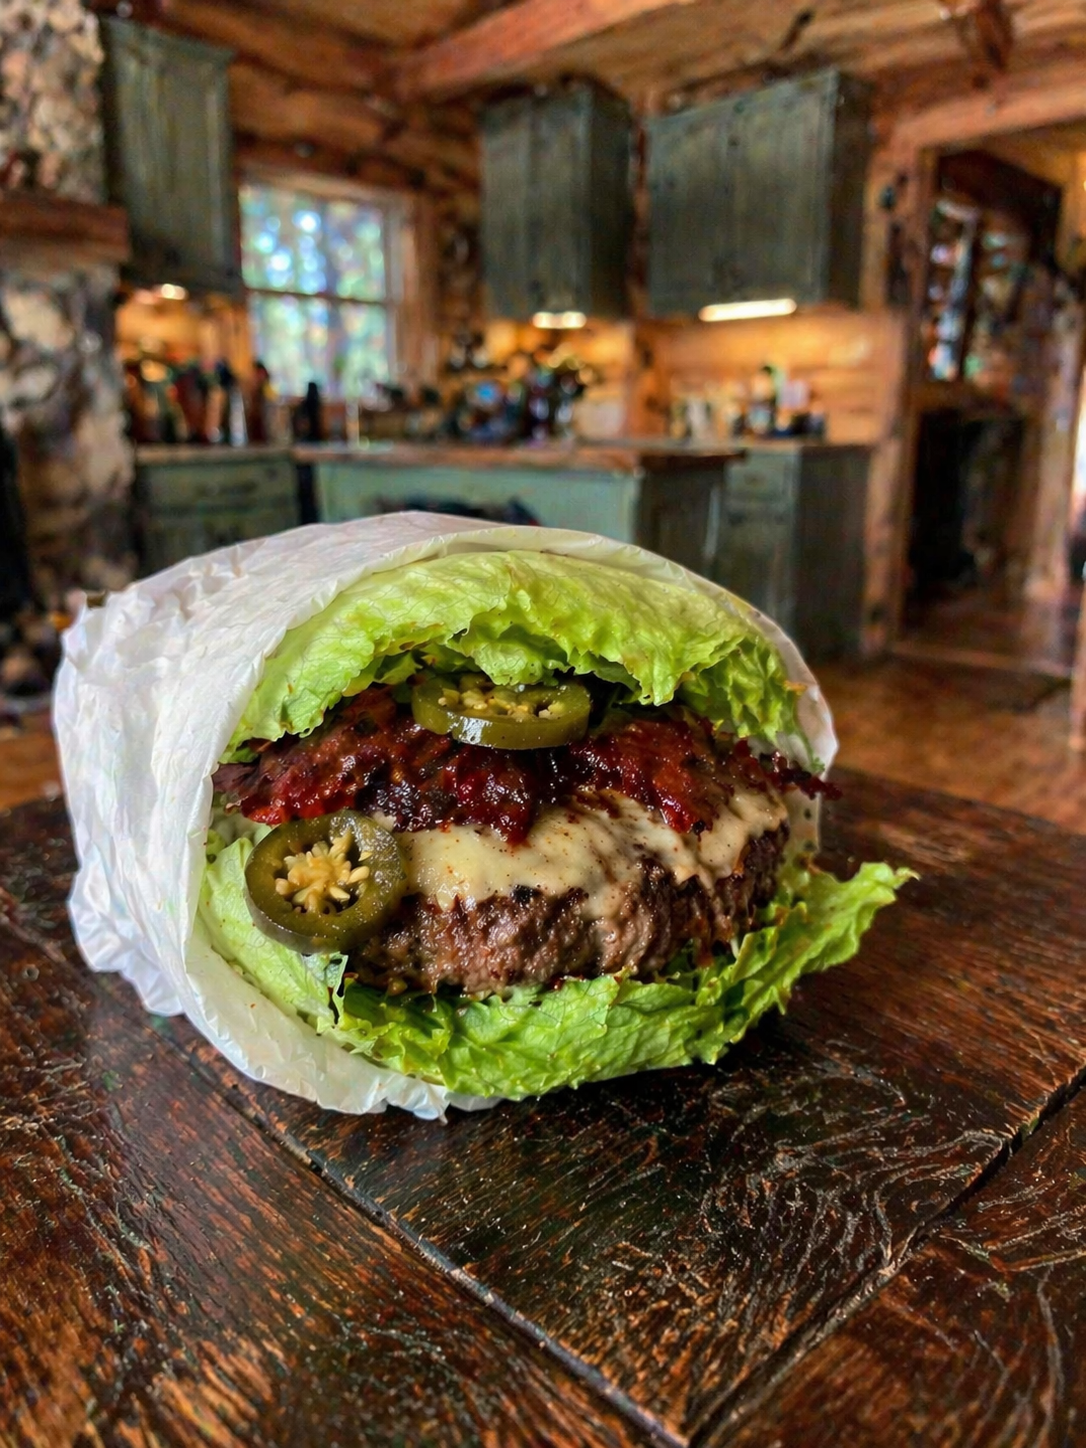
Bright colors and simple presentation help bring food photos to life.
Should I edit my food photos?
Yes—editing is essential.
Adjust:
- Brightness
- Contrast
- Saturation
Even small edits can dramatically improve your photos.
How do I take food photos quickly before the food gets cold?
- Set up your scene before cooking finishes
- Have props ready
- Take multiple shots quickly
Food doesn’t wait—shoot fast, then eat.
What backgrounds work best for food photography?
Simple, neutral backgrounds work best:
- White plates or linens
- Wooden tables or cutting boards
- Light-colored surfaces
Avoid clutter so the food stays the focus.
Can I take food photos outdoors?
Yes—and it often looks better.
- Natural scenery adds depth
- Lighting is usually better
- Great for picnic or hiking food shots
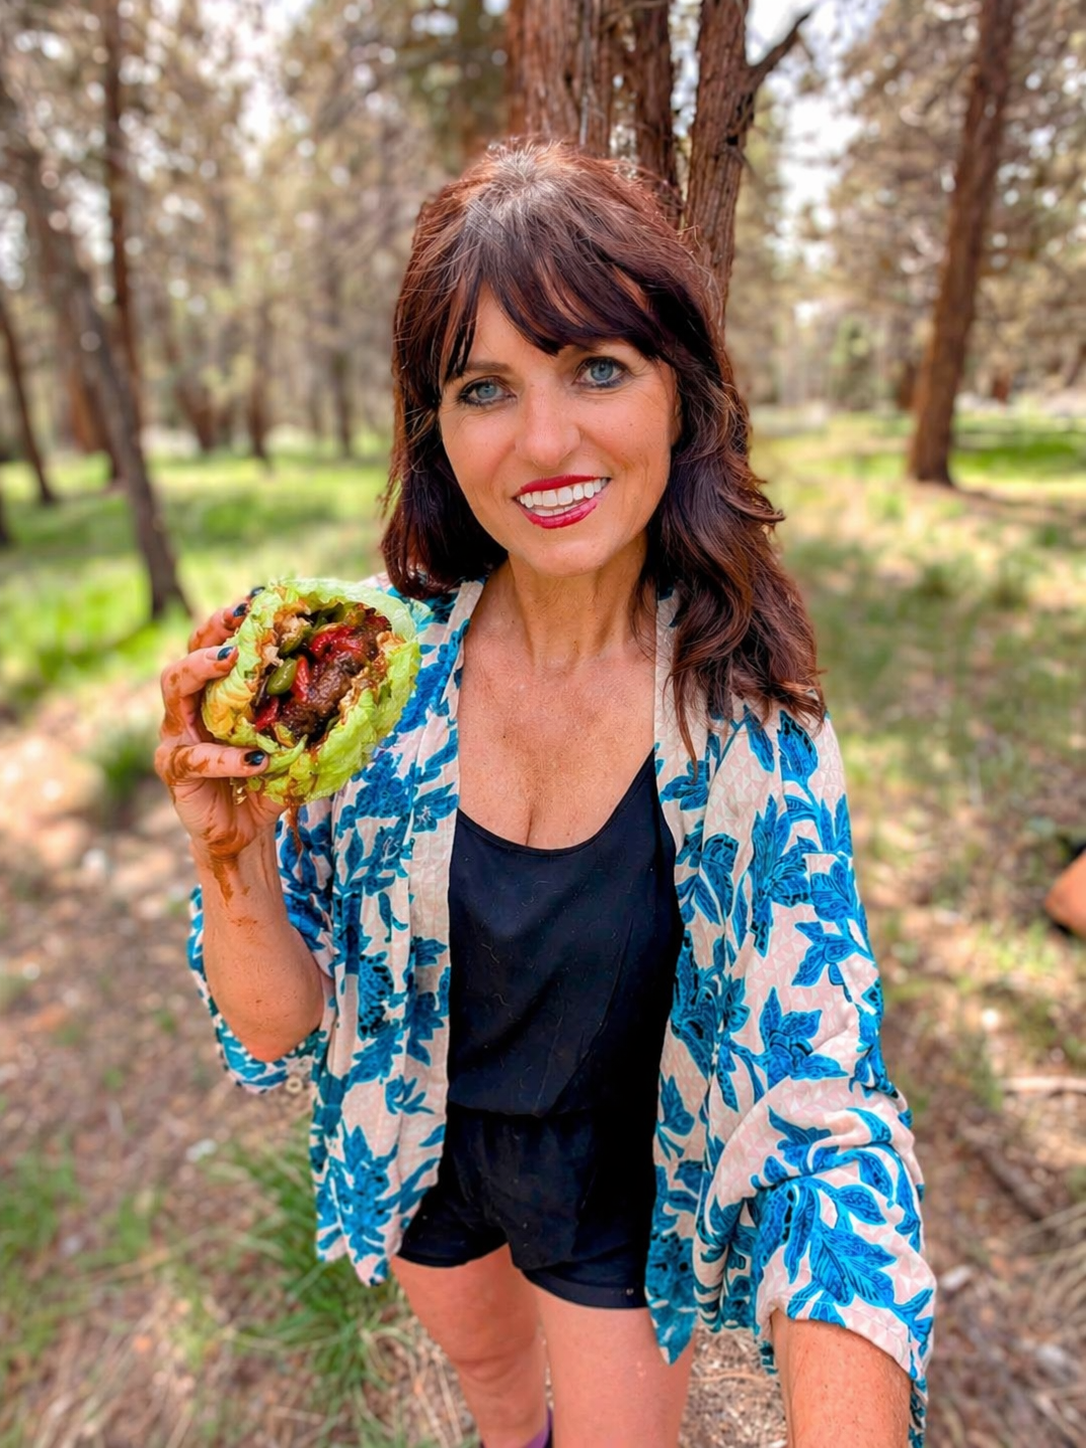
Outdoor food photography can make your images stand out.
What is the biggest mistake beginners make in food photography?
The biggest mistake is not planning the photo before eating.
Set up your shot first—because no one wants to see a half-eaten meal unless your blog is about culinary crime scenes.
Do pets help or hurt food photos?
They help—if used correctly.
A slightly blurred pet in the background can:
- Add personality
- Create depth
- Make the photo more engaging
Plus, people love animals more than your curry. It’s just facts.
Do I need expensive equipment to take good food photos?
No.
You can get great results with:
- A smartphone
- Natural light
- Simple props
Skill and setup matter far more than gear.
What’s more important: perfect photos or hot food?
Hot food wins.
Take a quick photo, make small edits if needed, and eat while it’s fresh. Perfect photos don’t taste good—your food does.