
It would be a lot easier to bake my own fresh Multigrain Sourdough if my finger wasn’t bleeding. If I weren’t wondering if I needed stitches, it would be easier to concentrate on stretching and folding. Or possibly, if I could take a simple breath, perhaps I could concentrate on coil folds. If my bosom was not tied into a brand new Renaissance Faire bodice I had just purchased from the local thrift store, maybe I could get some oxygen to my brain and really concentrate on baking fresh bread. Obviously, the multitasker in me had to try on my new pheasant attire as I was also trying to shove a loaf of Multigrain Sourdough in the oven (With or without organic pheasant blood on it) 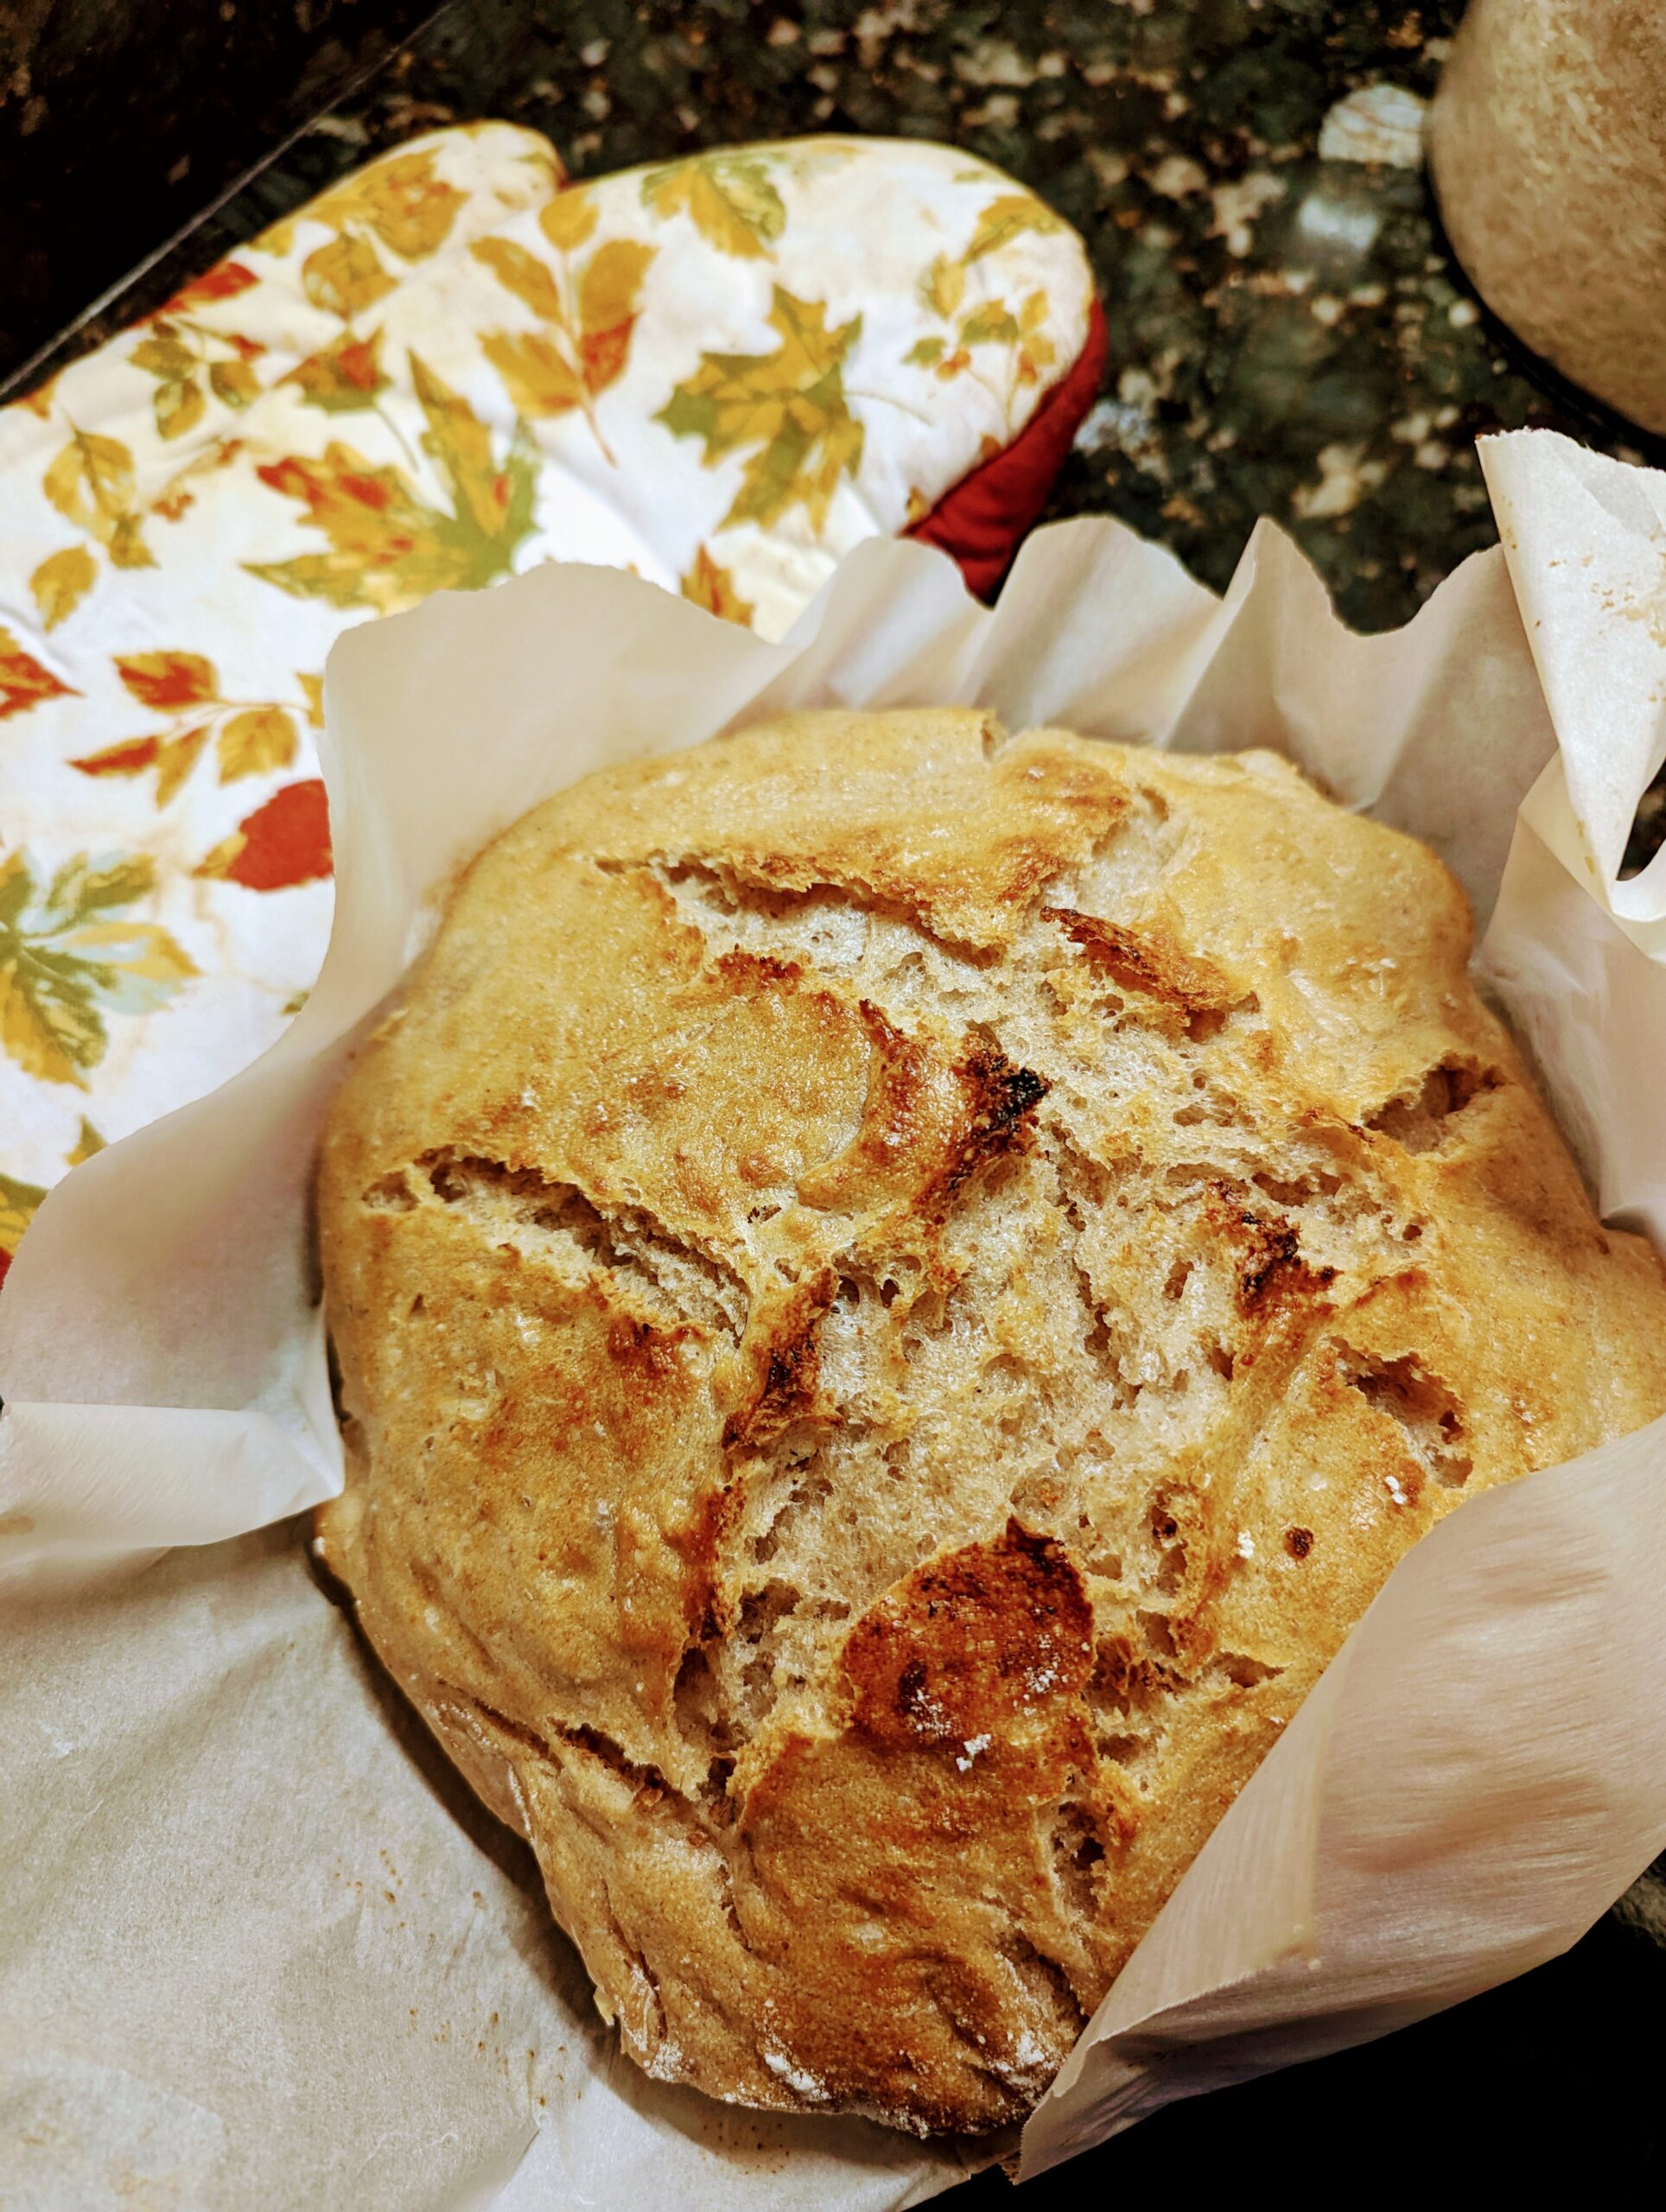
I mean, this is all part of sourdough baking, right? The key to creating an organic aged sourdough starter is fermenting the starter to perfection with natural wild yeasts and organic pheasant blood. Dude, I mean wench, this Renaissance-style bread is so authentic! It’s full of blood, sweat and tears, and what is more organic than that?
Yeast mode
It all started when I drove to the neighborhood thrift store on locals’ day to purchase a new-to-me but oh-so-gently used bike helmet. I’ve become re-obsessed with mountain biking. Lord knows where my bike helmet has gone after a few years of not cycling. Of course, I was very distracted from my fitness and shopping goals when I discovered a brand new to me Renaissance Faire costume, including a brand new bodice that is nicer than the expensive bodice I’ve lovingly worn for the last twenty years.
I was overjoyed with happiness (And thriftiness!) by the time I stood in line with three separate pieces I was going to use to create a brand new Renaissance Faire costume. All for the low price of eighteen dollars! Such a deal!

All you knead is Multigrain Sourdough
I may have been running on adrenaline as I decided to score my Multigrain Sourdough loaf before placing it in my oven. I had just purchased a brand new bread lame for easily slicing bread or at least multiple fingers. As I tried to go all Martha Stewart (Without the prison sentence) on my sourdough and create a lovely pine tree score, I couldn’t get the lame to do anything.
This dough lame seemed like it should be straightforward to use but I couldn’t even get it to slash into the wet dough at all. I could have used my thirty-year-old tetanus-coated box cutter. Instead, I threw away twenty bucks to those assholes at Amazon again. They just seem to know that I’m obsessing over baking sourdough here in 2024 and yes, I will be tempted to purchase a dough scraper. I figured the bread lame was a design flaw but no, it turns out I am dysfunctional because as soon as I went to try to clean it, I carved a beautiful alpine tree into my finger.
I like my sourdough just like I like my Jesus, Risen
Yes, I did buy a t-shirt from Amazon that says just that because after shoving my sourdough in the oven and losing a pint of blood, I still couldn’t breathe in that bodice and I may have lost a pint of blood. Perhaps it wasn’t the time for Amazon to be hinting at sourdough swag I should purchase but it happened.
Are you looking to bake the most delicious and yet healthy Multigrain Sourdough around? Do you still have all ten fingers? You simply have to go to your local health food market, buy all these ridiculous healthy flours and bake up this most amazing Multigrain Sourdough.
Multigrain Sourdough with Millet and Spelt
100 grams of millet ground into a flour
100 grams of ground spelt flour
50 grams of quinoa, ground
200 grams of bread flour
50 grams of ground oat flour
360 grams of water
50 grams rye sourdough starter
1 teaspoon honey
1 cup good quality, I use Kerrygold, salted butter, frozen and grated
1 teaspoon salt
1/4 cup pumpkin seeds
1/4 cup sunflower seeds
How to make Multigrain Sourdough that Laura Ingalls would approve of
Step 1: Wake Up the Starter
In a large mixing bowl, combine:
- Your lukewarm water
- Your starter discard
- The honey
Give it a stir and let it sit for a few minutes so everything dissolves and gets frie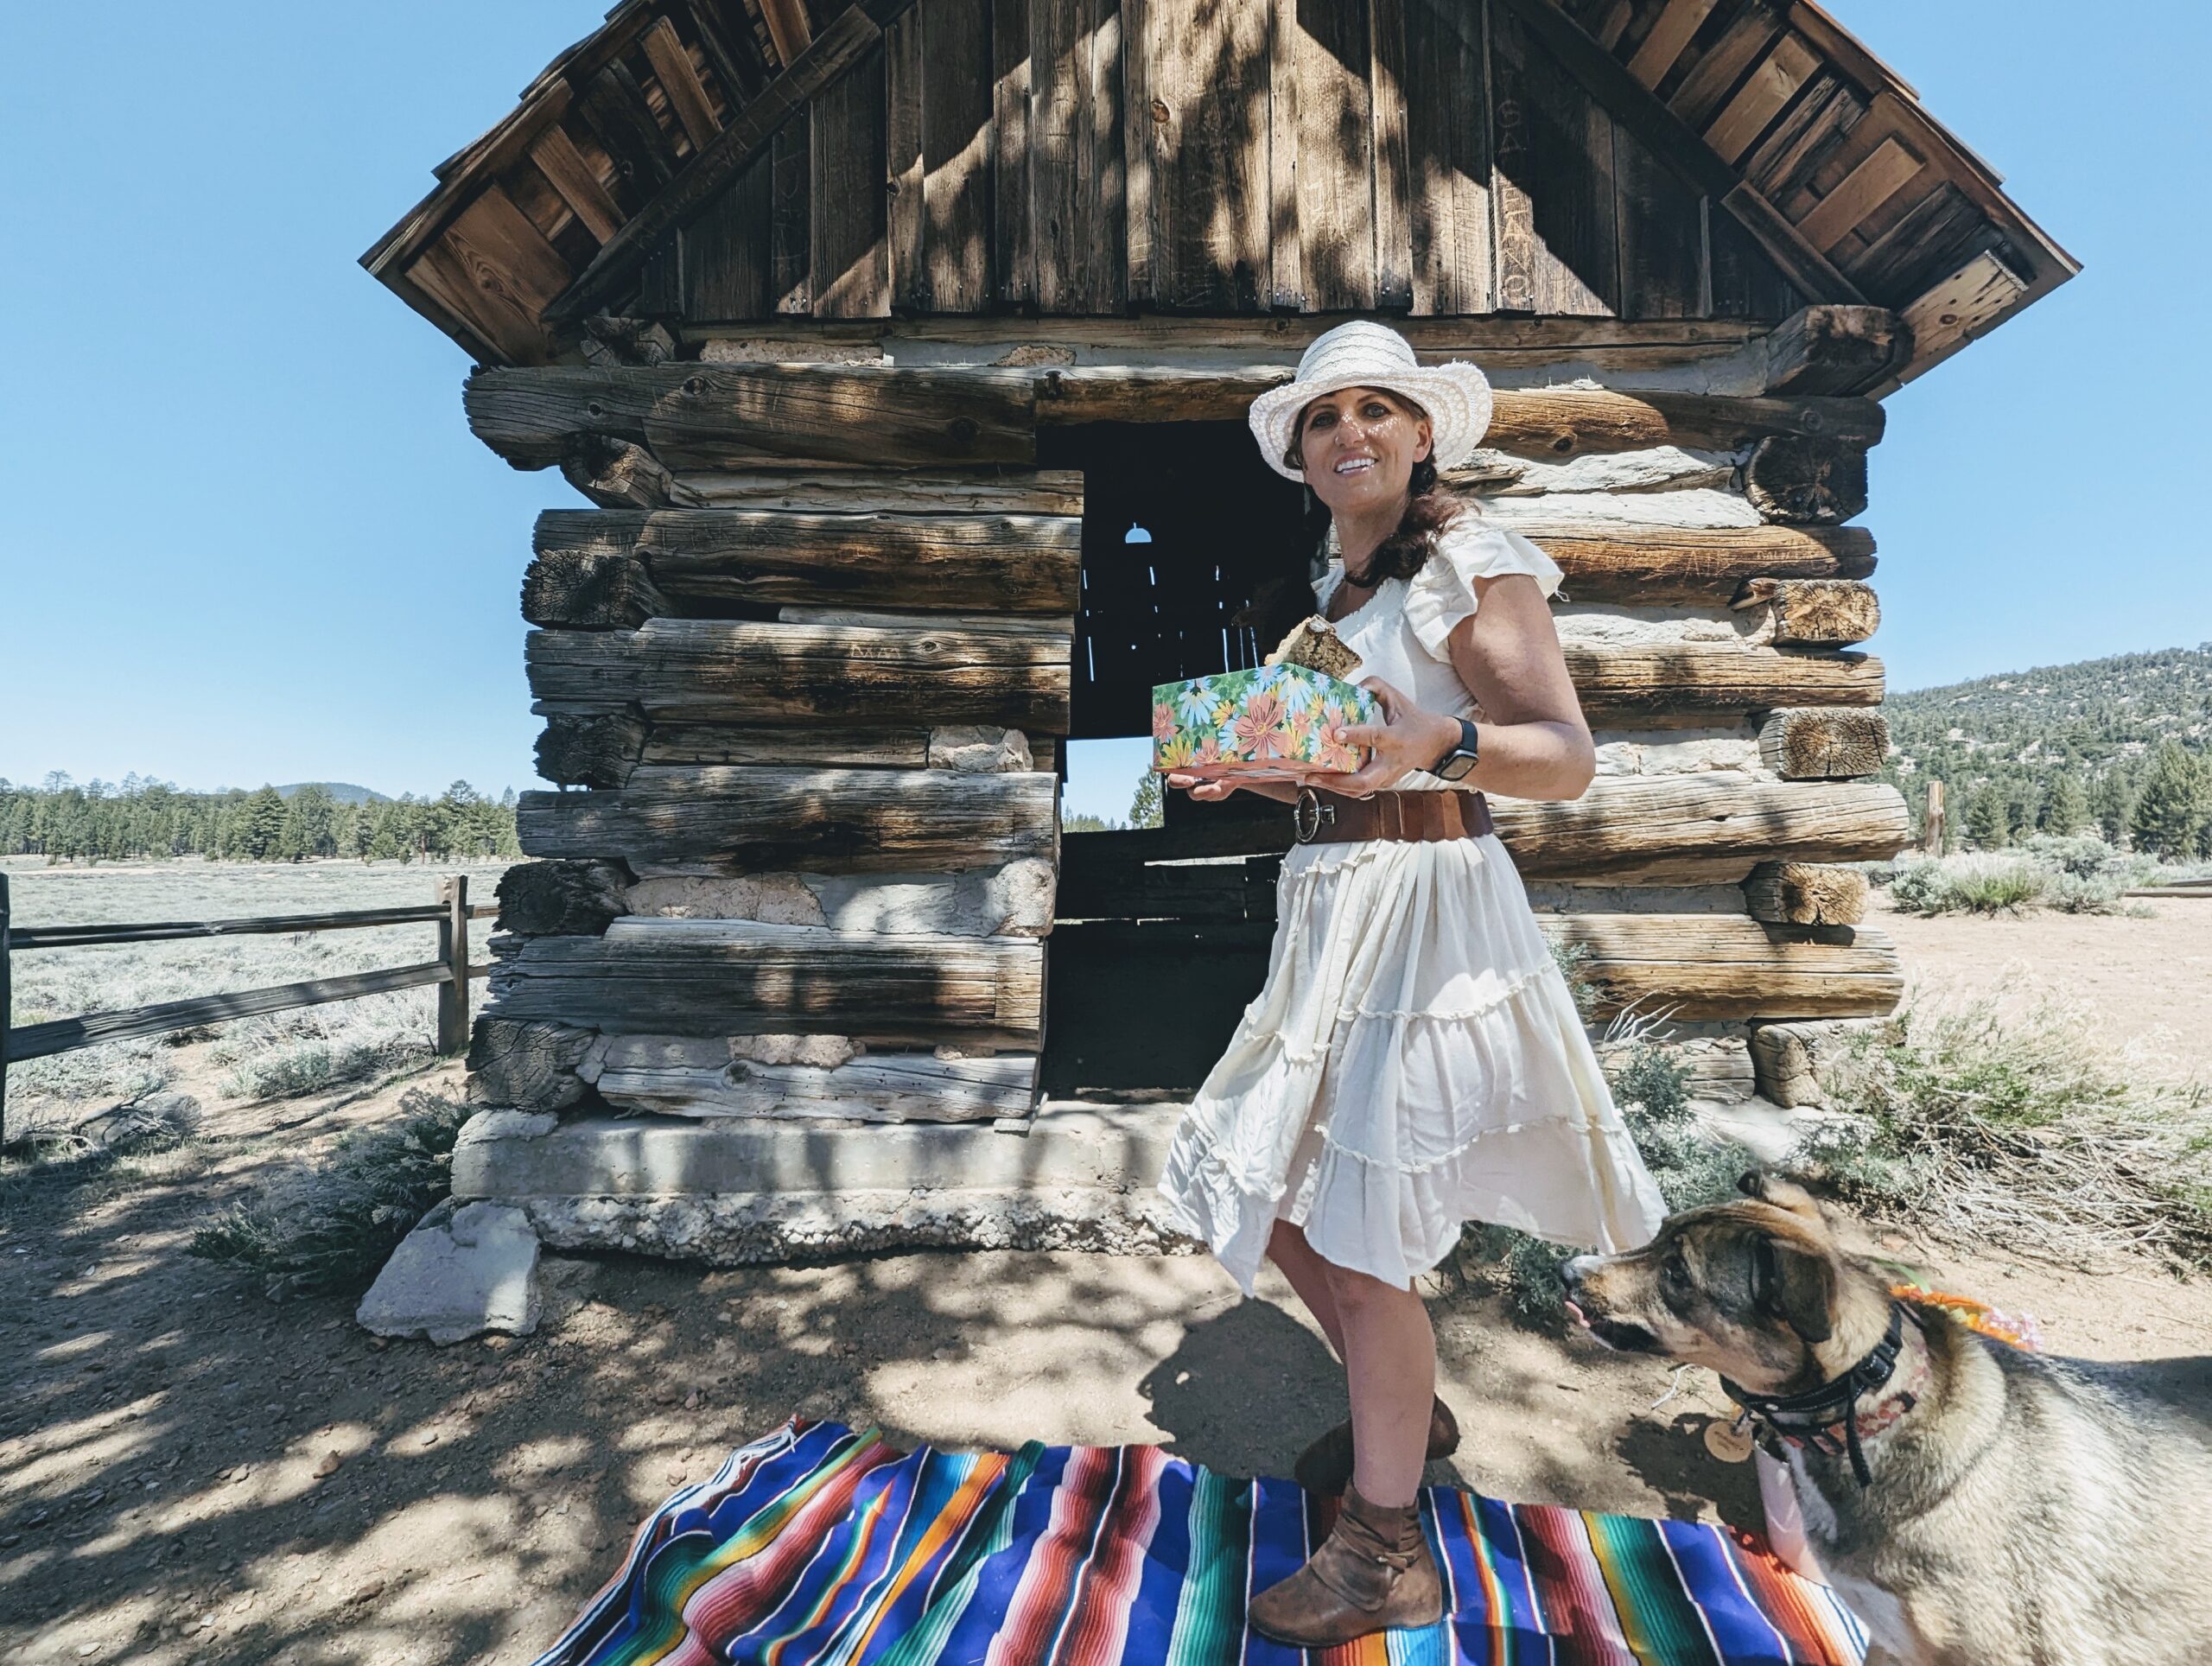 ndly. We are building bread, not rushing cattle.
Step 2: Add the Dry Goods
Add:
- Your flours
- The salt
- Half of your seeds
Mix until you have what can only be described as a shaggy dough — rough, uneven, slightly dramatic. Do not overmix. This is sourdough, not CrossFit.
Cover the bowl well and let it rest for 30 minutes. This is called autolyse, but we’re calling it “letting the flour hydrate like it’s had a long day on the prairie.”
Step 3: Coil Folds (Or: Pull It Together, Literally)
After 30 minutes, perform about 20 coil folds — gently lifting and folding the dough over itself until it begins to smooth out and develop a bit of shine.
If the dough sticks, lightly flour your hands or dampen them with water. We are making bread, not papier-mâché.
Cover and let it rest another 30 minutes.
Step 4: Stretch & Folds + Frozen Butter Magic
Now you’ll do 6 sets of stretch and folds, spaced 15 minutes apart.
If you’re wondering what a stretch and fold is, welcome to sourdough. It’s exactly what it sounds like: gently stretch the dough upward and fold it back over itself. Rotate the bowl and repeat. Or just watch this video.
With each set, sprinkle in some of your grated frozen butter. Yes, frozen. Yes, granted. Yes, we are pioneers but with refrigeration.
By the sixth set, your dough should feel stronger, smoother and slightly smug, yes, like Pete Hegseth.
Step 5: Counter Ferment
After your final stretch and fold, cover the dough well and leave it on the counter to ferment overnight or about 12 hours.
This is when the magic happens.
Step 6: Pre-Shape & Short Rise
In the morning, gently shape your dough into a ball. Let it rest on the counter for about 1½ hours for a short rise.
We are not rushing fermentation. Good bread and good character take time.
Step 7: Cold Ferment (Flavor Building 101)
Dust the outside of your dough generously with rice flour (this prevents sticking — regular flour will betray you).
Place it seam-side up in a bowl lined with a clean towel dusted with rice flour. Sprinkle the remaining seeds on top.
Cover well and refrigerate for 5–8 hours.
The longer it cold ferments, the deeper the sourdough flavor. Patience is rewarded. Much like prairie winters.
Step 8: Bake Like You Mean It
When ready to bake:
- Preheat your oven to 500°F with your Dutch oven inside.
- Remove your dough straight from the fridge.
- Place it onto parchment paper.
- Carefully transfer it into the hot Dutch oven.
Score the top with a lame (or a very sharp knife). Slice the bread, not your finger. We are baking, not re-enacting Little House medical emergencies.
Add two ice cubes between the parchment and the Dutch oven wall for stea m. (Steam = glorious crust.)
Cover with the lid and bake 45 minutes.
- Then:
- Lower oven to 450°F
- Wait 6 minutes
- Remove the lid
- Bake an additional 15 minutes until golden and glorious
Step 9: The Hardest Part
Remove the bread and let it cool for at least two hours.
Do not slice it early. I know you want to. I know it smells like frontier happiness. But if you cut it too soon, you’ll gum up the crumb and regret your impatience.
Good bread waits.